
A lifted pad on a BGA rework is a project-killer. Pads detach during the desolder phase or the reflow phase, the trace tears, and now you’re either patching with kynar wire or scrapping a board worth tens of thousands of rupees.
Most rework operators we talk to assume lifted pads are a station problem — “we need a better hot-air rework unit.” Sometimes that’s true. Most of the time, it’s a process problem the existing station could handle if the technique were right.
This article walks through the 6-step BGA rework protocol that protects pads, explains the physics behind each step, and surfaces the failure modes most rework benches don’t account for.
Why pads lift
Three forces act on a pad during BGA rework:
- Thermal stress. PCB material expands faster than copper. If hot air heats the top side faster than the bottom side, the pad’s bond to the laminate stretches, weakens, and detaches.
- Mechanical pull. When the BGA package is lifted off the board while solder is still partly solid, the pad comes with it.
- Adhesive degradation. PCB pads are bonded to the laminate by an adhesive that softens above ~150°C. If the pad sits at high temperature too long, the adhesive fails and the pad floats free.
Every step in the rework protocol below addresses one or more of these failure modes. If you understand which force you’re managing at each step, the protocol stops being “instructions to follow” and becomes “decisions you can adapt to your specific board.”
Step 1 — Preheat the board
The most important step. Skip this and nothing else matters.
A cold board hit with 380°C hot air develops a violent thermal gradient. Top side is at 380°C, bottom side is at 28°C ambient — the laminate stretches, the adhesive can’t keep up, pads pull off when the package lifts.
Bottom-side preheating brings the entire PCB to 100–120°C before the rework station’s nozzle goes anywhere near the BGA. This:
- Reduces the thermal shock on the laminate
- Softens flux uniformly across the package
- Reduces the temperature delta the rework station has to cover
- Distributes mechanical stress across many pads instead of concentrating it under the BGA
Equipment: A bench preheater — 200×200 mm minimum, IR or convection-type. Set 120°C, allow board to soak 5–8 minutes before bringing the rework nozzle in.
Without preheat: lifted pads are a matter of when, not if. Especially on large BGAs (≥ 19 mm) and thick multilayer boards.
Step 2 — Profile to a soak
Don’t dive straight from ambient to peak reflow temperature. The thermal profile should follow:
- Ramp — 1–3°C/sec from preheat (120°C) up to the soak zone
- Soak — 90–120 seconds at 150–180°C. Lets flux activate, lets the package equilibrate, lets internal moisture escape (if any)
- Ramp to reflow — 1–3°C/sec up to peak temperature (235–240°C for SAC305 lead-free, 215°C for tin-lead)
- Time above liquidus — 60–90 seconds for SAC305, 30–60 seconds for tin-lead
- Cool — 2–6°C/sec back to 100°C, then natural cool to ambient
Many rework operators try to compress this. The result is uneven solder reflow under the package — some balls melt, others don’t — and the package lifts with one corner still partially soldered. That’s the moment pads tear.
Tooling: if your rework station has profile programming, use it. If it doesn’t, use a thermocouple probe taped to the PCB next to the BGA and watch the temperature manually.
Step 3 — Lower air velocity, raise time
A common misconception: hotter + faster air = faster rework.
Reality: high-velocity 380°C air at the BGA will (a) blow neighbouring 0402 / 0201 components off the board, (b) over-heat the BGA’s plastic body without giving the solder balls underneath time to fully reflow, and (c) cause uneven reflow because the air doesn’t penetrate evenly under the package.
Better approach: lower velocity, longer time.
- Velocity: 30–60 L/min for most BGAs (rework station-dependent)
- Time: governed by thermal profile, not by clock
- Nozzle clearance: 5–10 mm above the package — close enough for heat transfer, far enough to avoid blasting
The right setting is one where you can still see the BGA — if neighbouring components are visibly drifting in the air, your velocity is too high.
Step 4 — Watch the solder, not the clock
Reflow finishes when:
- The package self-aligns visibly (the BGA “settles” as solder balls reach liquid state and surface tension centres the package on the pads)
- The joint surface shines (visual indicator of full liquid state)
- Slight package bounce when probed with tweezers (solder is fluid)
Time-based reflow stops are a liability. Boards differ in thermal mass; some BGAs have copper pours under them; some don’t. A 90-second time at peak that worked yesterday may be 70 seconds today.
Train rework operators to watch and confirm — visual signal first, time as a sanity check.
Step 5 — Lift the package only when liquid
Premature lifting is the second most common cause of pad damage (after no preheat).
If you lift the BGA while the solder is still in its mushy zone (between liquidus and solidus — for SAC305 that’s 217–220°C; for tin-lead 183–188°C), some balls have detached, others haven’t. The ones that haven’t pull pads off the board.
Procedure:
– Use a vacuum pickup with light suction — just enough to hold the package, not pull it
– Apply suction during the reflow, before lifting
– Once the visual signal shows full reflow, slowly lift — should feel almost no resistance
– If you feel resistance, drop the package back, give 3–5 more seconds at peak, try again
If after a second attempt there’s still resistance, kill the heat — something’s wrong (under-temperature, wrong alloy assumption, dud nozzle profile). Investigating beats forcing.
Step 6 — Pad prep matters more than air-station spec
After the package comes off, the pads are coated in residual solder of varying height. Soldering a new BGA onto unprepared pads gives you a population of joints with inconsistent stand-off — some too tall, some too short. Failure modes follow.
Pad prep procedure:
- Wick the residual solder with desoldering braid + flux. Goal: flat clean copper.
- Inspect under magnification (10× minimum). Verify no pad damage, no via-in-pad blockage, no contamination.
- Re-flux with a controlled-volume flux pen. Fresh activated flux on every pad.
- Apply solder paste if reballing the package, OR stencil onto the board using a mini-stencil if the BGA brings its own balls.
- Place the package with vacuum tool, aligned to fiducials. Don’t trust eye alignment on fine-pitch BGAs.
- Run reflow profile in reverse of the desolder profile. Same care, same patience.
The best rework station can’t fix poor pad prep. The worst rework station can be coaxed to acceptable results with disciplined pad prep.
Failure modes the protocol prevents
| Failure | Caused by | Protocol step that prevents |
|---|---|---|
| Lifted pads | No preheat, premature lift | Steps 1, 5 |
| Cracked package body | Excessive top-side heat | Steps 2, 3 |
| Neighbouring component drift | High air velocity | Step 3 |
| Cold solder under one corner | Uneven reflow profile | Steps 1, 2, 4 |
| Pad copper contamination on placement | Skipped pad prep | Step 6 |
| Solder bridging on placement | Wrong paste volume / stencil | Step 6 |
Equipment that helps
Three things make the protocol practical:
- A station that holds setpoint reliably under load — same principle as soldering stations for hand work.
- A bottom-side preheater — non-negotiable. Bench-mounted, IR or convection.
- A vacuum pickup tool — hand pickup risks rotation during lift; vacuum keeps alignment clean.
The tooling cost adds up. A reasonable rework bench setup runs ₹2-5 lakh — comparable to a medium-end CNC. For an EMS or auto-electronics R&D lab doing more than ~10 BGA reworks per month, the equipment pays back in saved boards within the first quarter.
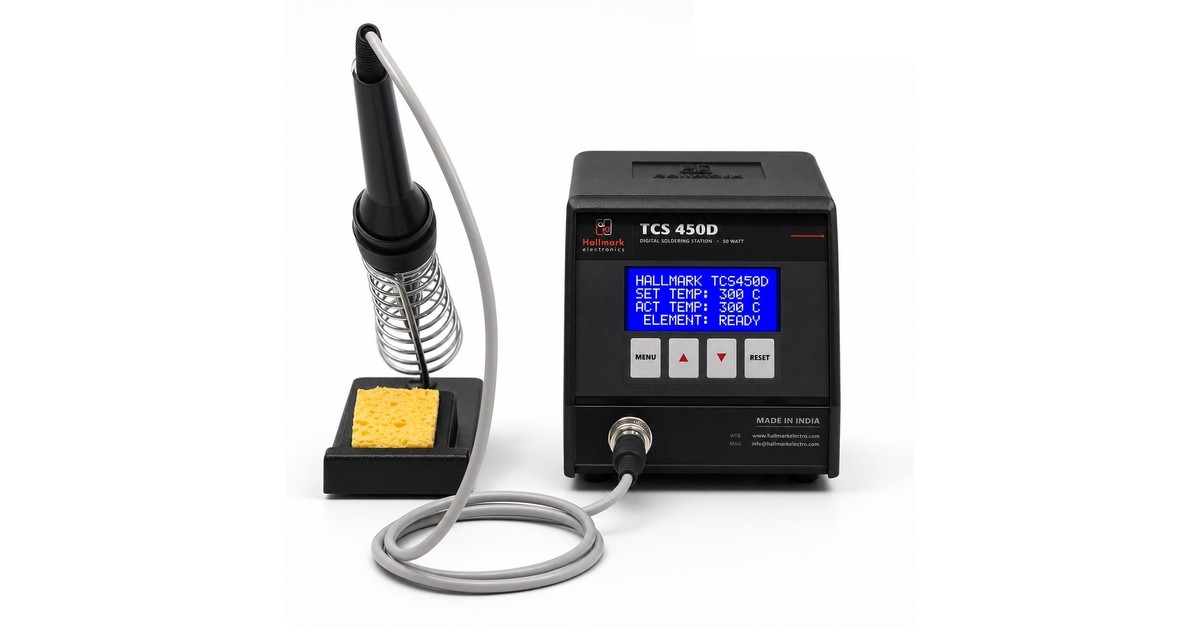
Where Hallmark fits
We make hands-free desoldering and rework setups in our Pune factory — designed to pair with bottom-side preheating for the protocol described above. Our hands-free unit is widely used in R&D labs and rework benches across Indian auto-electronics and EMS.
If your BGA rework volume is climbing — or if you’re seeing lifted-pad failures and need to figure out whether equipment, process, or both is the cause — drop us a note and we’ll route it to one of our rework engineers. We’ll happily do a phone walk-through of your current setup before recommending equipment.
Related guides on Hallmark
- Weller & Hakko alternative in India — TCO compared
Imported vs Indian soldering station — when each genuinely wins. - How to choose a soldering station — 2026 buyer’s guide
Wattage, stability, ESD, tip range — what an Indian procurement team needs to know. - Cold solder joints — 7 root causes and how to fix each
Cold joints are rarely the operator’s fault. The real causes, with fixes. - Imported vs Indian soldering station — real 5-year TCO
Worked numbers, downloadable spreadsheet, an honest method.